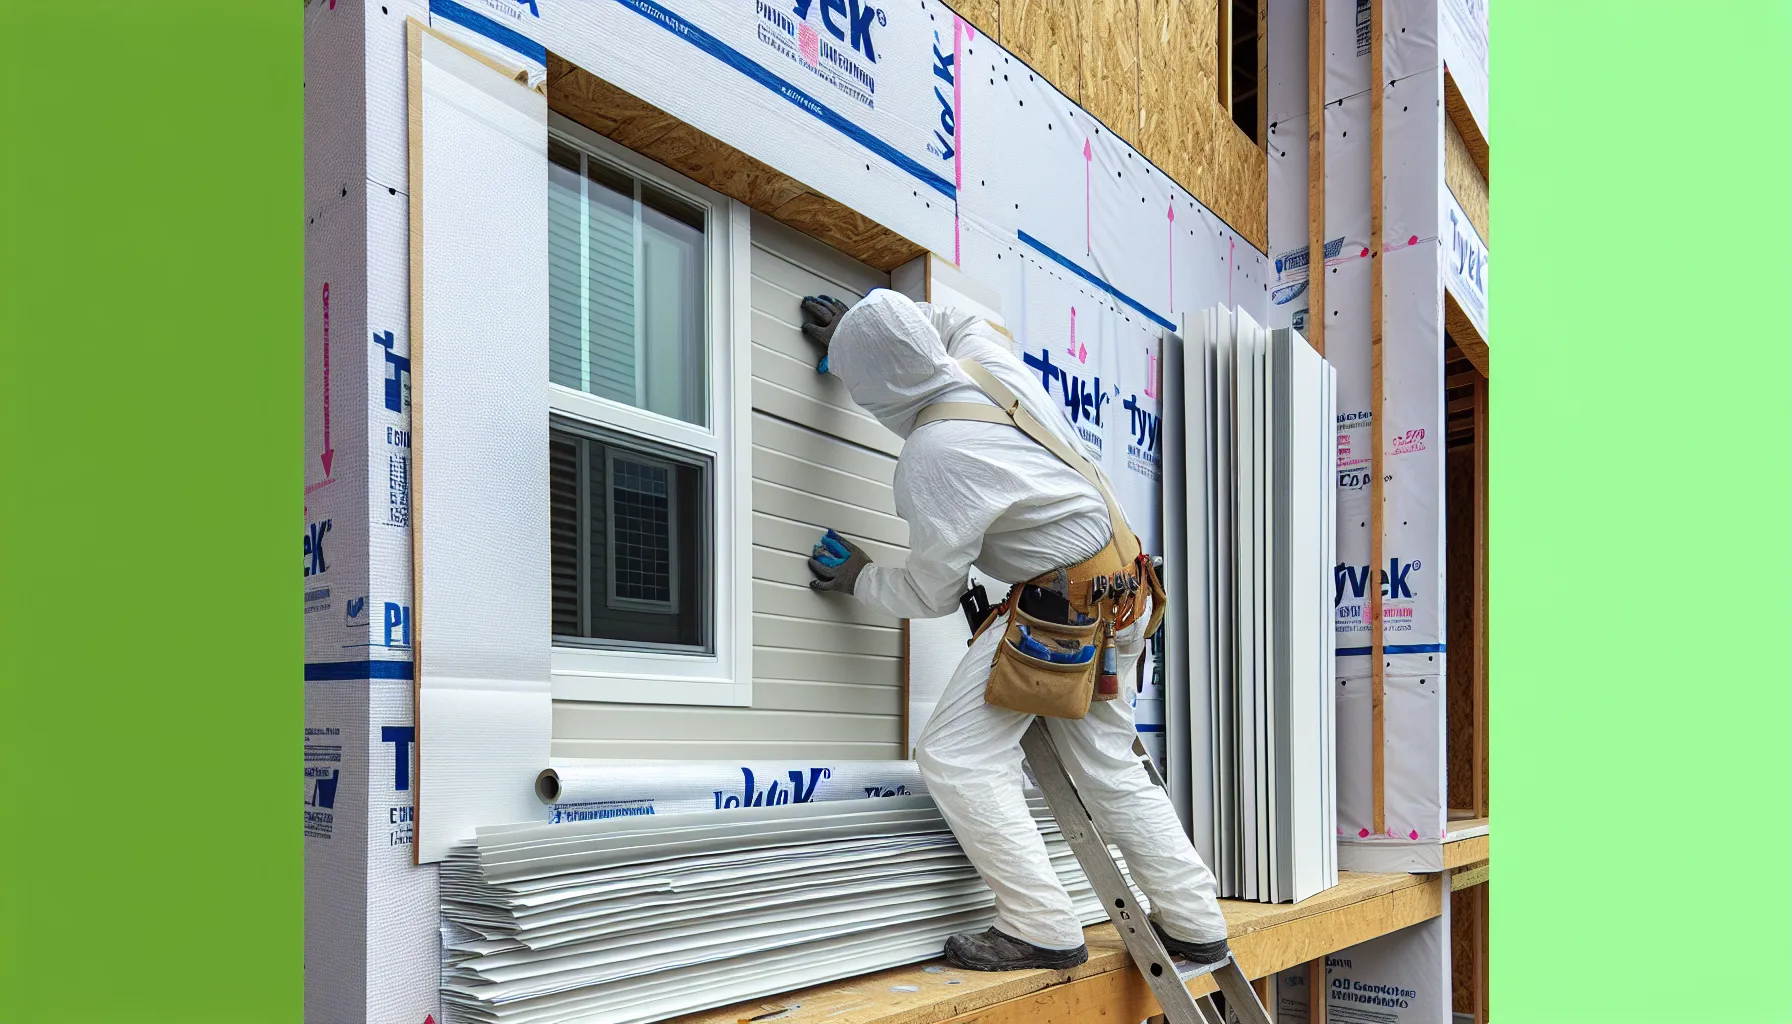
Vinyl siding remains one of the most popular exterior cladding choices in North America, but its effectiveness depends entirely on what’s underneath. House wrap serves as the critical water-resistive barrier (WRB) that protects your building envelope from moisture intrusion – and with vinyl siding’s unique design characteristics, choosing and installing the right house wrap becomes even more important.
Why Vinyl Siding Requires House Wrap Underneath
Unlike some cladding systems that create a weathertight seal, vinyl siding is designed as a ventilated rain screen. This fundamental design principle means vinyl siding is never intended to be your primary weather barrier. The house wrap beneath carries that responsibility.
Building codes universally require a water-resistive barrier behind vinyl siding. The International Residential Code (IRC) Section R703.2 specifically mandates that “a water-resistive barrier shall be installed over the sheathing and behind the exterior wall veneer or covering.” This isn’t optional – it’s code-required protection for the structural components of your wall assembly.
Water that penetrates vinyl siding (and it will) must have somewhere to go. Without proper house wrap, moisture accumulates in wall cavities, leading to mold growth, insulation degradation, sheathing rot, and ultimately structural damage. A quality house wrap creates a secondary drainage plane that channels water safely down and out of the wall system.
How Vinyl Siding’s Design Allows Water Infiltration
Understanding where water enters behind vinyl siding helps you appreciate why house wrap installation quality matters so much:
Horizontal Seams and Lock Points: Vinyl panels interlock horizontally, but these seams aren’t watertight. Wind-driven rain can force water through the locking mechanism, especially during severe weather events. The gap allows for thermal expansion and contraction – necessary for vinyl’s performance – but creates pathways for moisture.
J-Channels and Trim Pieces: Every window, door, corner, and transition point requires trim channels. These J-channels, corner posts, and starter strips create dozens of potential entry points. Even properly installed trim allows some water passage – that’s the nature of a ventilated system.
Penetrations and Fasteners: Vinyl siding itself isn’t nailed tight to the wall – proper installation requires leaving the panel loose in the fastening slot to allow movement. While this prevents buckling, it also creates gaps. Additionally, any penetration (lights, outlets, vents) interrupts the siding’s continuity.
Wind-Driven Rain: Under normal conditions, most rain runs down the face of vinyl siding. But when wind speeds exceed 30-40 mph, water can be driven upward and inward through the overlaps and seams. This is particularly problematic in coastal regions or exposed building sites.
Best Types of House Wrap for Vinyl Siding Applications
Not all house wraps perform equally behind vinyl siding. The key distinction lies in drainage capability:
Drainable House Wrap (Recommended)
Drainable house wraps feature a textured or grooved surface that creates air gaps between the wrap and the siding. This space provides:
- Drainage pathways: Water that gets behind the siding can drain downward without being absorbed or trapped
- Drying potential: Air circulation helps moisture evaporate rather than accumulating
- Bulk water management: During severe weather, drainable wraps handle higher water volumes
Popular drainable options include Tyvek DrainWrap, Benjamin Obdyke HydroGap, and Barricade RainDrop. These products typically cost $0.40-$0.75 per square foot but provide superior moisture management for vinyl siding applications.
Non-Drainable House Wrap (Acceptable)
Traditional flat house wraps like standard Tyvek or Typar still meet code requirements and function adequately when properly installed. They work through:
- Water resistance: Preventing liquid water from reaching sheathing
- Vapor permeability: Allowing water vapor to escape outward
- Drainage via gravity: Water runs down the face of the wrap
Non-drainable wraps cost less ($0.15-$0.35 per square foot) but rely entirely on gravity for drainage and offer no air space for drying. They’re code-compliant but represent a lower performance tier.
What to Look For
When selecting house wrap for vinyl siding, prioritize:
- High water holdout: ASTM D779 rating showing water resistance under pressure
- Breathability: Permeance rating of 10+ perms allows vapor escape
- UV resistance: At least 6 months exposure rating (12+ is better)
- Tear strength: ASTM D5034 ratings ensure durability during installation
Installation Guide for House Wrap Under Vinyl Siding
Proper installation technique matters as much as product selection. Here’s the step-by-step process specific to vinyl siding applications:
1. Surface Preparation
Install house wrap directly over clean, dry sheathing (OSB or plywood). The sheathing should be structurally sound with fasteners flush or slightly countersunk. Any protruding nails or debris will telegraph through and potentially puncture the wrap.
2. Start at the Bottom
Begin your first course at the bottom of the wall, extending 2-4 inches below the top of the foundation. This overlap ensures water drains past the sill plate. Secure with cap staples or plastic cap nails every 12-18 inches along studs.
3. Horizontal Overlaps
Each successive course overlaps the one below by at least 6 inches – many contractors prefer 8-12 inches for added protection. The upper course always laps over the lower course (shingle-style) to direct water downward.
Fasten the top edge, then work downward, keeping the wrap smooth but not drum-tight. Excessive tension leads to tearing; too much slack creates wrinkles that can trap water.
4. Vertical Seams
Vertical seams should overlap 6-12 inches and occur over studs when possible. Stagger seams between courses (don’t align them vertically) to prevent continuous water pathways.
5. Tape All Seams
This is non-negotiable for vinyl siding applications. Use house wrap tape specifically designed for this purpose – not duct tape or generic construction tape. Tape should be:
- Applied to both horizontal and vertical seams
- Minimum 4 inches wide
- UV-resistant and weather-resistant
- Compatible with your house wrap brand
Roll the tape firmly with a J-roller or hand pressure to ensure full adhesion. Taping is especially critical because vinyl siding allows so much water passage.
6. Window and Door Integration
Rough openings require special attention:
Before window installation: Apply sill flashing tape extending 6-12 inches past each side of the opening. Install jamb flashing, then head flashing, creating a shingle-lap sequence. The house wrap should be cut in a modified I-pattern and lapped over the flashing at the head and jambs.
After window installation: Additional flashing tape around the window perimeter integrates the window into the drainage plane. Follow manufacturer specifications for your specific window brand.
For detailed techniques, see our complete house wrap installation guide.
7. Corners and Transitions
At outside corners, wrap one wall and extend the wrap 12 inches around the corner onto the adjacent wall. The wrap from the adjacent wall overlaps this extension. Inside corners can be treated similarly or use a piece of wrap cut to fit the corner valley.
8. Top of Wall
Extend house wrap to cover the top plate and lap it over the wall-to-roof intersection flashing. This prevents water from entering at the critical roof/wall junction.
Common Mistakes Contractors Make
Even experienced crews make these errors when installing house wrap under vinyl siding:
1. Skipping Tape: The most common shortcut. Without taped seams, house wrap functions more like multiple pieces of plastic than an integrated drainage plane. Water finds the gaps.
2. Reverse Lapping: Installing upper courses under lower courses creates shingles that catch water rather than shedding it. Always lap upper over lower.
3. Insufficient Overlaps: The minimum 6-inch overlap is just that – minimum. On exposed walls or in high-wind zones, use 8-12 inches. The extra 6 inches of material costs pennies compared to water damage repairs.
4. Poor Window Flashing Integration: The house wrap and window flashing must work together as a system. Cutting wrap away completely around windows or failing to properly lap the components creates the most common leak points.
5. Ignoring UV Exposure Limits: Most house wraps have 6-12 month UV exposure ratings. Installing wrap but delaying vinyl siding installation for a year degrades the wrap’s performance. If delays occur, consider UV-protective coverings.
6. Over-Fastening: Using too many staples or nails creates hundreds of additional penetrations. Follow manufacturer spacing recommendations – typically 12-18 inches is adequate.
7. Installing Wet: Applying house wrap over wet sheathing or during precipitation traps moisture in the wall assembly. Wait for dry conditions.
8. Wrong Fasteners: Narrow-crown staples can tear through wrap. Use cap staples or plastic cap nails that distribute load across a larger area.
9. Not Consulting Local Codes: Some jurisdictions have specific requirements beyond IRC minimums. High-wind coastal areas often require enhanced attachment schedules or specific product approvals.
Building Code Requirements and Compliance
IRC Section R703.2 provides the foundation requirements, but understanding the nuances helps ensure compliance:
R703.2 Water-resistive barrier: “A minimum of one layer of No. 15 asphalt felt, complying with ASTM D226 for Type 1 felt, or other approved water-resistive barrier shall be attached to the studs or sheathing, with flashing as described in Section R703.8, in such a manner as to provide a continuous water-resistive barrier behind the exterior wall veneer or covering.”
Key points:
- Continuous barrier: The wrap must be continuous with all seams and penetrations properly sealed
- Behind the veneer: The WRB goes behind vinyl siding, not integrated with it
- Proper flashing: Windows, doors, and penetrations require additional flashing integrated with the WRB
R703.8 Flashing: This section mandates flashing at windows, doors, and other wall openings. The flashing must direct water away from the interior and toward the exterior.
R703.11.2 Vinyl Siding: This section specifically addresses vinyl siding installation, including provisions about fastening, corner posts, and accessories – all of which interact with the house wrap system.
Many jurisdictions have amended these baseline codes with more stringent requirements. High-wind zones often reference ASTM D3679 for vinyl siding and may require specific house wrap products with Miami-Dade or Florida Building Code approvals.
Always verify local requirements before beginning work. The code provides minimums – best practices often exceed these standards.
Calculating Material Needs
Use our house wrap calculator to determine how much material you need. Account for:
- Wall square footage plus 15-20% for overlaps and waste
- One roll of tape per 3-4 house wrap rolls
- Flashing tape for all windows and doors
- Cap staples or cap nails (approximately 1 lb per 500 sq ft)
For a typical 2,000 sq ft house (wall area), expect to use 2,400-2,600 sq ft of house wrap.
House Wrap vs Vapor Barrier Confusion
Many people confuse house wrap with vapor barriers – they serve different functions. House wrap is a water-resistive barrier that blocks liquid water while allowing vapor transmission. A vapor barrier (or vapor retarder) controls water vapor movement.
In most climate zones, you want house wrap on the exterior (behind siding) and no vapor barrier, or only a smart vapor retarder on the interior. Installing impermeable barriers on both sides of the wall traps moisture with no escape path.
For a detailed explanation, see house wrap vs vapor barrier.
Frequently Asked Questions
Do I really need house wrap under vinyl siding?
Yes, absolutely. Building codes require it (IRC Section R703.2), and vinyl siding’s design allows significant water passage. House wrap is your primary defense against moisture intrusion, mold, and structural decay. Skipping it saves a few hundred dollars upfront but creates thousands in potential repair costs.
Can I use Tyvek under vinyl siding?
Yes, Tyvek is one of the most common house wrap choices for vinyl siding. Standard Tyvek (non-drainable) meets all code requirements. Tyvek DrainWrap offers enhanced performance with its drainage features and is worth the upgrade in moisture-prone climates. Both products are compatible with vinyl siding systems when properly installed.
What’s better under vinyl siding – felt paper or house wrap?
Modern synthetic house wrap outperforms traditional felt paper (tar paper) in nearly every category. House wrap offers better tear resistance, UV stability, and vapor permeability while weighing less and installing faster. Felt paper costs less but deteriorates more quickly and doesn’t breathe as well. For vinyl siding applications in 2026, synthetic house wrap is the professional standard.
How long can house wrap be exposed before installing vinyl siding?
This depends on the specific product’s UV rating. Most house wraps can withstand 6-12 months of UV exposure before degradation begins. However, manufacturer warranties often require siding installation within 30-90 days. Check your product specifications and protect exposed wrap if delays occur. Extended UV exposure compromises the wrap’s water resistance and tear strength.
Should I use drainable or non-drainable house wrap for vinyl siding?
Drainable house wrap (products with built-in drainage gaps) provides superior moisture management for vinyl siding applications. The air space allows water to drain and walls to dry more effectively. While non-drainable wraps meet code minimums, drainable products offer better performance for a modest cost increase – typically $300-600 more on an average house. In humid climates, coastal areas, or with poor roof overhangs, drainable wrap is well worth the investment.
Do I need to tape house wrap seams under vinyl siding?
Yes. While code doesn’t always explicitly require it, taping seams is considered best practice and is specified by virtually all house wrap manufacturers. Since vinyl siding allows significant water passage, seam taping ensures your drainage plane remains continuous. Use compatible house wrap tape – not duct tape or generic construction adhesives. The small cost of tape ($50-100 for a house) provides enormous value in leak prevention.
Final Recommendations
House wrap installation might seem like a minor detail in the vinyl siding process, but it’s actually one of the most critical steps for long-term building performance. Here’s what separates professional installations from amateur work:
- Choose drainable house wrap for best moisture management
- Tape all seams with compatible, high-quality tape
- Pay special attention to window and door flashing integration
- Maintain proper overlaps (6+ inches horizontal, 6-12 inches vertical)
- Follow shingle-lap principles – upper layers always over lower layers
- Don’t leave house wrap exposed to UV for extended periods
- Verify local code requirements before beginning work
When properly installed, the combination of quality house wrap and vinyl siding creates a durable, low-maintenance wall system that protects your home for decades. Cut corners on the house wrap, and you undermine the entire cladding investment.
For more information on house wrap products and installation services, visit our custom house wrap page or contact our team for project-specific guidance.